
|
RX-Snake: Cage
Quote:
At what point should the cage be installed? Pretty early on right? bird, I'm hoping you can help out all over as the mood strikes you, but maybe especially with some bad ass switchgear setup and bulletproof electrical system. :drink: |
I think that installing the cage once the interior is gutted would be good. Before we worry about the drive train and suspension install. The cage and suspension should be considered together to an extent.
Quote:
|
Quote:
|
Quote:
|
Quote:
|
Quote:
|
I tried to look at the car from link but it has been pulled. Is it a Gen 1 or 2?
|
Quote:
|
Quote:
|
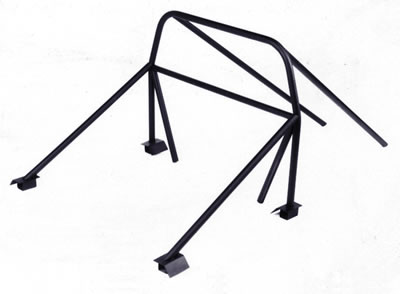
I spoke to Throttle Crazy and he thinks we'll need 3 sticks to do the roll bar. We both want to get some sticks for other projects as well so we'll just pick them up. Once you guys have the car stripped let me know and I'll come pick it up to do it. We'll want to install the roll bar before you put it up on blocks.
|
|
Quote:
 This is the same that I have in my Chevelle. |
Quote:
|
So, on a unibody, what do you anchor the cage to? Bulkhead the stress points?
I peeked at the car today. The boys were stripping away.(The car):D Save the oil cooler, but a straight line car doesn't need one. Keep up the good work.;) |
Quote:
|
Quote:
|
Quote:
Are you sure the car is straight? Throttle Crazy has a frame machine in his body shop. I might be able to get him to put it on and make sure it's straight before we fab up the cage. If it's not maybe we can straighten it first and then do the cage. Thottle Crazy and I are putting together a ZZ383 for his Jimmy this week and I think we're going to drop it in this weekend. If you can get the car stripped by Sunday maybe I can come down and pick it up then. |
Quote:
|
I haven't seen any evidence of body work on this car, I'd be willing to bet that it's straight. You guys might want to heat it up and pound the floor out before you get started though.
|
I picked up the car today from Ben and I took it over to my buddy Joe's house to make the main hoop. The first thing we did was measure the height and width where we are going to install the main hoop. Joe already has some pre bent tubes so we used those to check the fitment. Once we had a the mesurements Joe drew up a diagram using those measurements. We then cut a section of tube and proceeded to make the bends. After each bend we laid the main hoop down on the diagram to make sure it matched up.
This is a picture of the diagram drawn on the garage floor. 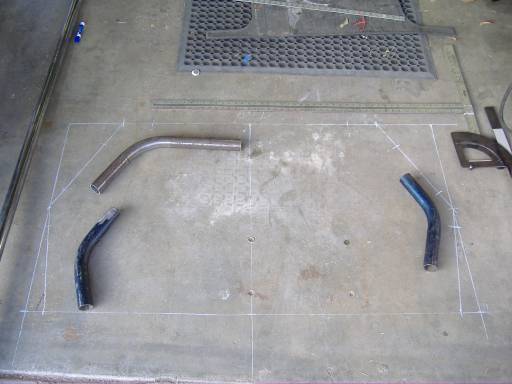 Here's one of Joe marking the tube before bending it. 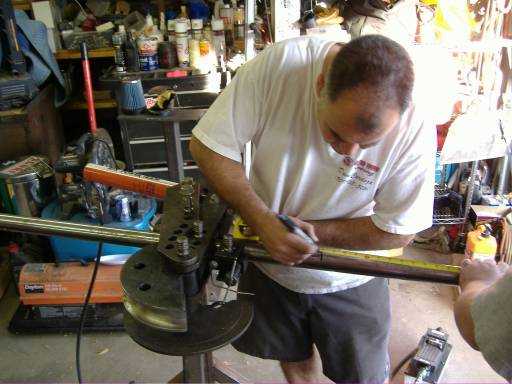 Here's one after the first two bends. 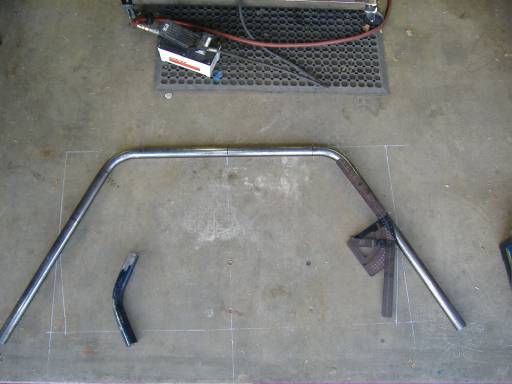 I didn't get one of the finished product. I got busy and forgot to snap some but I added a red arrow so you can see where the third bend was. Same for the fourth bend but on the other side. 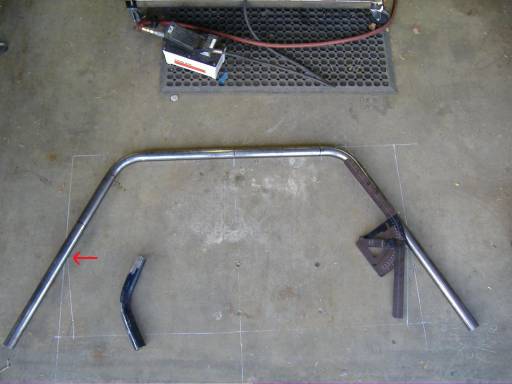 Here's one of Kylie and Mya helping with the cage. 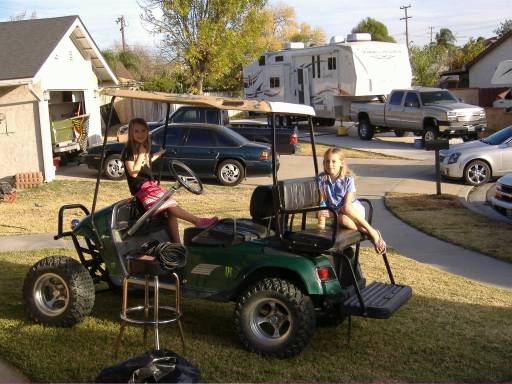 I want to thank Joe for his help and the use of the tube bender. Also for giving me some pre cut 4x4 plate for the floor attachments. I'll start prepping the floor tomorrow night and hopefully get the main hoop welded in place. I'll post more pictures of it as well. |
I finished installing the main hoop tonight. Here are some pictures. I remembered to take them this time.
             |
Quote:
|
Great! I'm getting even more excited than when this project started. Are those your welds?
|
Quote:
|
Quote:
BTW, there's some anti-splatter spray that works pretty good to keep that stuff down to a minimum. The pics look pretty clean. |
That is some clean work! Nice job guys!
|
Quote:
BTW, like your sig, though I'd go with the passive form: " Objects in the mirror have been punished." |
Quote:
|
The cage looks good so far. You do nice work.
The dash is all coming out. Go wherever you need/is strongest. Maybe thru the firewall to tie in the front. Are you putting swing outs for the front seat? |
Quote:
|
Ben, if you want to buy some cheap primer, I'll spray the roll bar once it's finished to keep the rust off. :thumbs_up:
|
Quote:
|
Quote:
|
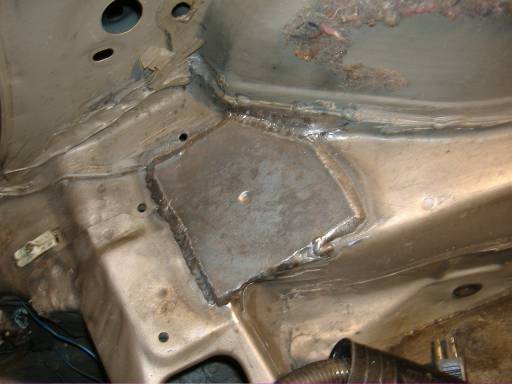
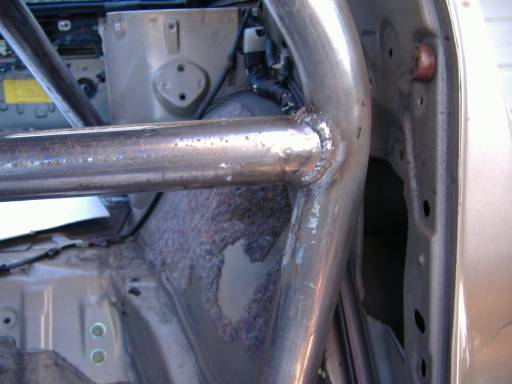
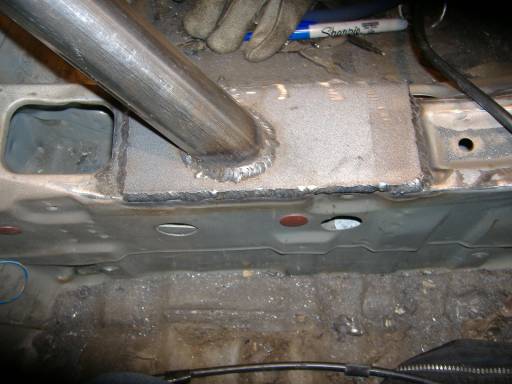
I finished the rear bars tonight. The winds have been really bad out here so yesterday it took me 2 1/2 hours just to get one plate welded to the floor. I had to keep grinding down the weld and redo it because it was splattering bad. :bang: So if it doesn't look perfect tuff luck it still got good penetration. Also, I haven't welded the top of the bars to the main hoop for the same reason. I'll grind down what is there now and do them again.
I didn't take any pictures of the tubes while I was making them but all I did was measured the length that I wanted then used a 1 3/4 hole saw to cut the tube in half. That way I already had the notched ends. Then I cut them to length and angle cut the bottom with a saws all. Here's some pictures from last night and tonight. 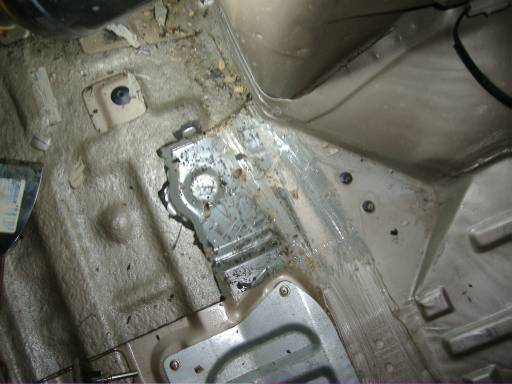 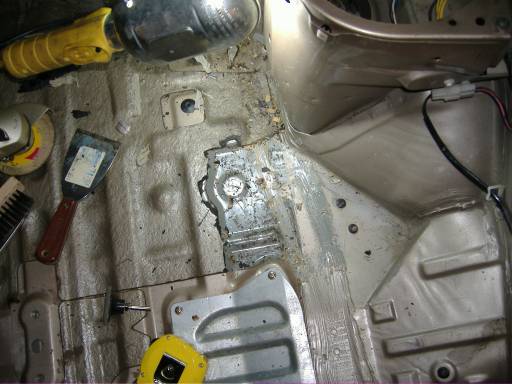 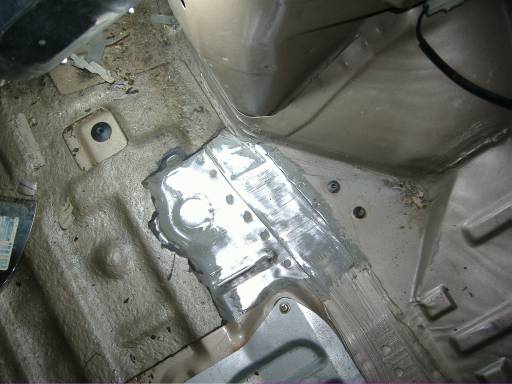 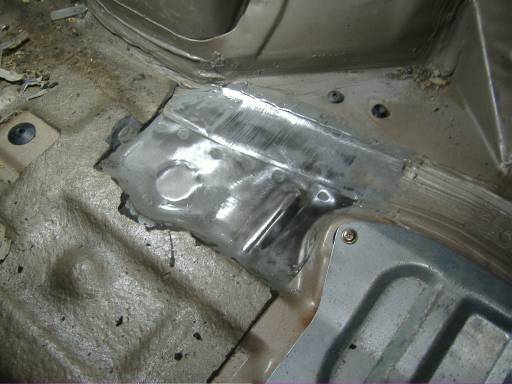 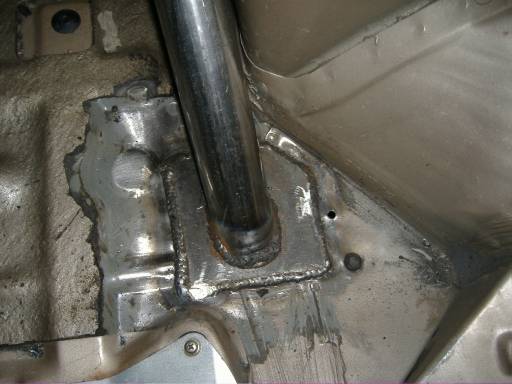 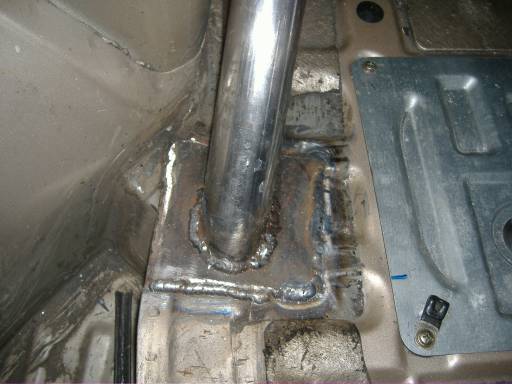  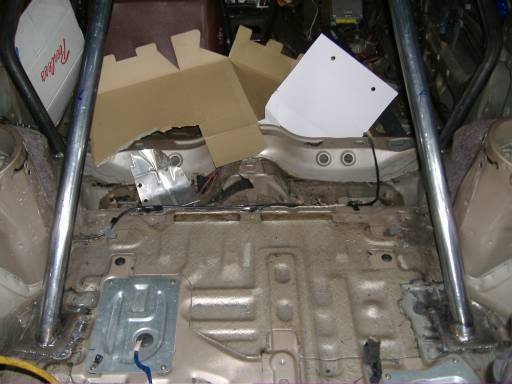 |
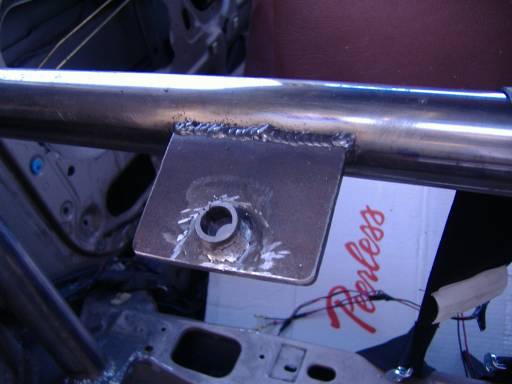
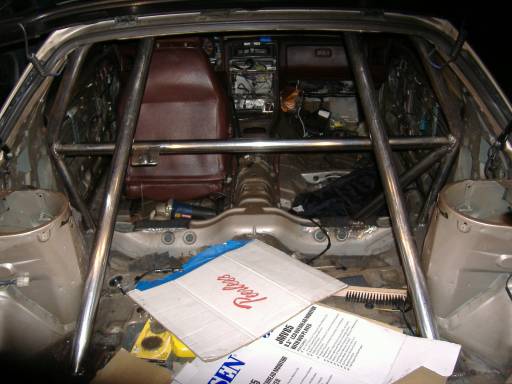
I finished the cross bar and seat belt mount on Saturday. Here are a couple pictures.
   |
:drink::thumbs_up:
|
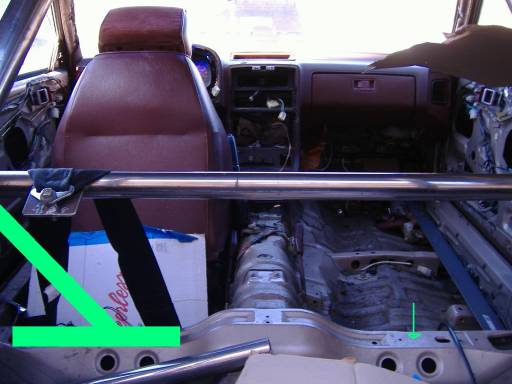
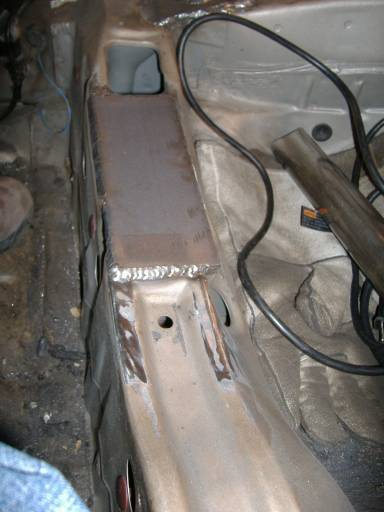
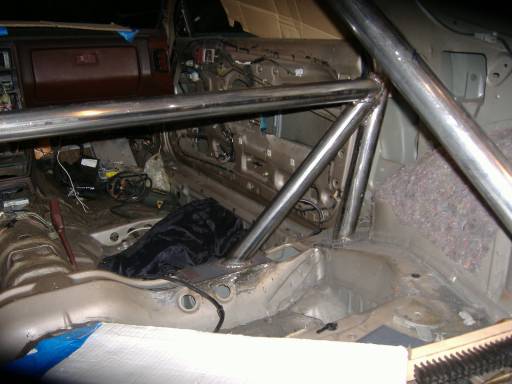
Sorry it's taking so long. I just got the second stick of tubing yesterday so I can start on the door bars and the main hoop supports. I'll start with the mian hoop supports tonight and see how far I get. I'm going to reinforce the area where they are going to be welded to the floor with some 3" plate first. I'll take some pictures as I go along.
|
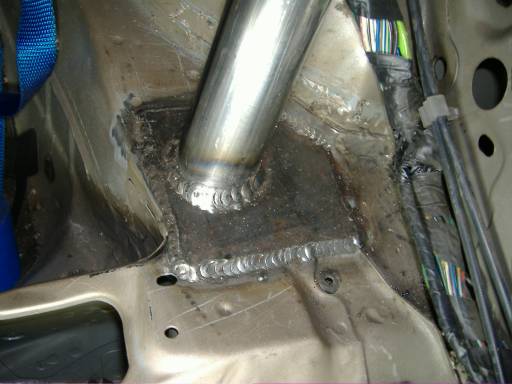
You can see in this picture the area that I'm going to add plate to from the green arrow on the right and then what I plan on it looking like on the left. The plate I'm going to use is on the far right laying on the floor.
 |
Ron,
You are doing a hell of a job!! Keep up the good work.:thumbs_up: |
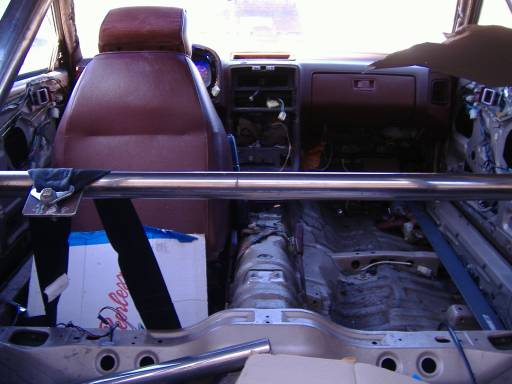
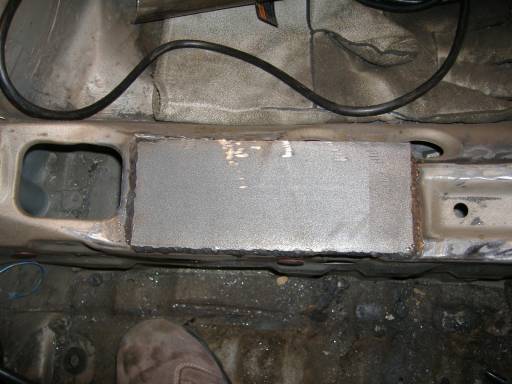
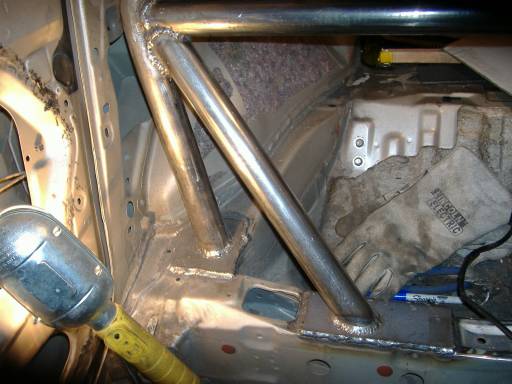
Thanks Adam. I worked on it for about 3.5 hours tonight. I finished the plates for the main hoop supports and got them welded in and I made one support bar and got it welded in. Here are some more pictures.
       |
| All times are GMT -7. The time now is 02:50 PM. |
Powered by vBulletin® Version 3.6.8
Copyright ©2000 - 2024, Jelsoft Enterprises Ltd.